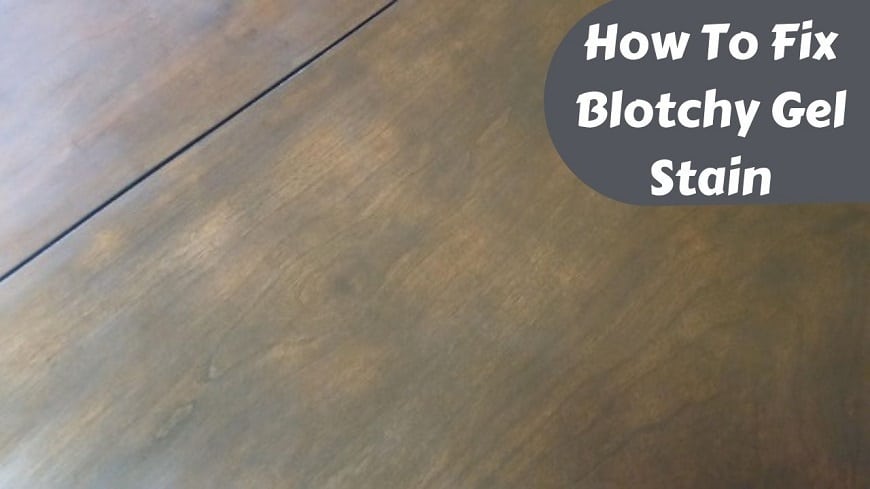
We all know wood is pretty much stain-friendly when it is the right stain and you apply it properly. But this case is not always the same. Sometimes it would behave like a stubborn toddler and your wood won’t take stain in spots.
Things get pretty much frustrating afterward as most people don’t know the cure or solution to this bizarre problem. But don’t get tired yet as there are several reasons behind this problem and you can fix spots on your wooden furniture without failure.
Basically, wood will not take stain if the surface has old paint on any spots which are not peeled. Besides this, any remaining spots that are already sealed and are not sanded properly will not take stain easily. An accidental glue drip can also prevent your stain from penetrating of the stain. Also, things can go wrong if you don’t recognize the material as actual wood or not. Because of the use of laminated furniture, some amateurs face trouble recognizing the actual wood.
However, there are other grim reasons that can fail your attempt to stain on wood in some spots. The solution to these reasons can vary from each other. To learn the solutions, you must keep your pace with us.
| Causes | Solutions |
|---|---|
| Uneven surface | Sand the wood thoroughly to create a smooth and even surface. |
| Residue or contaminants | Clean the wood surface to remove any dirt, oils, or previous finishes. |
| Wood grain variation | Apply a pre-stain wood conditioner to help even out the absorption. |
| Inadequate or uneven staining | Apply additional coats of stain or use a gel stain for better coverage. |
| Previous finish or sealer | Strip the previous finish or sealer before applying the new stain. |
| Moisture content | Ensure the wood is properly dried before staining to prevent blotching. |
| Quality of stain | Use a high-quality stain that is suitable for the type of wood being stained. |
One of our articles –How to Remove Rubbing Alcohol Stain from Wood?
Spots in Wood that Won’t Take Stain: Reasons and Solutions
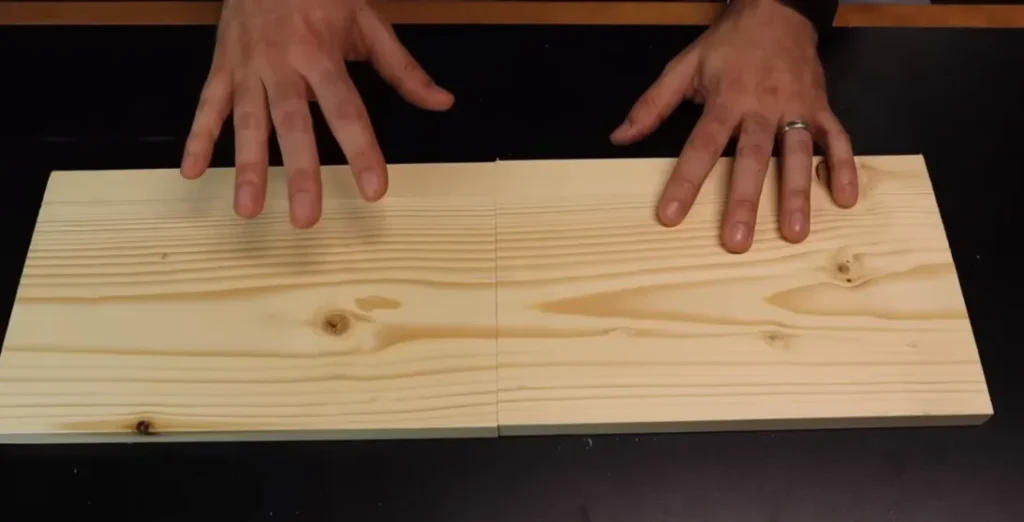
It has become a worldwide trend to enhance wood to make it look more beautiful adopting different ways and staining it is the most adopted decoration of all time. But staining the surface of any type of wood is not as easy as it seems. Wood has many natural barriers, yet many quality stains can overcome those barriers and give a proper look to your wood.
But the problem happens when some little spots of your wood remain stubborn and won’t absorb stain at any cost. The reasons behind this problem are serious as they halt the beauty of the whole surface of your wood to be completed. Finding out the reasons and adopting the proper solutions for those have become our primal concerns in this article.
One of our articles –How To Dissolve Wood Glue?
Old Paint Remained Unpeeled
Often times the applier of the stain doesn’t notice or care enough to prepare the surface of the wood properly. As a result, some spots remain untouched and old paint does not get removed in the process. This reason is also partly responsible for the irresponsible behavior of the applier.
Either he/she does not know the proper way of staining or they take the job too easy in the first place. However, unpeeled old paint can play tricky too if it is of the same color as the wood. In this case, it is accidental that the applier misses some spots and it is bad luck.
Solution: The solution for this problem is to be a little more cautious in the first place and then sand the surface properly and evenly. As very much coarse grit sandpaper might affect the stained areas, you should start sanding with 80-grit sandpaper.
Then to have an even texture, 180 to 200-grit fine sandpaper will do. But try to remain within the 180grit sandpaper range. Provide proper attention to the surface and it is always better to work in a place where there is enough lighting so you don’t miss out on any spot.
Spots Remained Sealed or Finished
Another major reason for wood won’t take stain is when the surface is sealed. The sealed wooden surface covers the pores and tightens the surface. As a result, staining the wood becomes impossible. Sometimes, people don’t understand if the surface is sealed or not.
That’s why you should learn what a sealed surface of wood looks like. Generally, a sealed surface looks glossy as the finish provides a transparent finish. You will get a shiny and even touch instead of getting a raw feeling of wood. Besides, sealed wood cannot hold water while raw wood absorbs water. This way you can recognize if your wood is finished or sealed or not.
Solution: 1: Sandpaper: There are several solutions to this problem. You can sand the spots where it is sealed. This is a little bit hard job. But you can carefully do it taking your time and finding the spots with care.
Also, you need to be very careful as sanding leads to damage wood so much. That’s why don’t use coarse grit sandpaper here. To have an even texture adopt a 220-280grit fine sandpaper and conduct it on the spots gently.
2. Gel Stain: You can take a second attempt by alternating the stain to gel stain or paint. Many experts suggest using gel stains because they work on the most stubborn wood.
One of our articles –Eco-Friendly Wood Hardener Alternatives for Your Home.
Accidental Glue Drip
It happens that many times you accidentally spill glue on the surface. As you can make different work pieces by gluing several pieces of wood, it is natural that you might spill some glue over the surface. But the major problem happens when you do not notice the spilling of glue and it gets cured. The cured glue prevents the stain to activate on the surface.
Solution: 1. Sandpaper: The first and foremost solution is to clean the drips of glue. If it is cured then use a wire and carefully clean it. To make the surface even, sand it properly with 180 or 220-grit fine sandpaper. It will remove swirl marks and dust. Try not to overdo the sanding.
2. Gel Stain: If the uneven place doesn’t bother you then for the second attempt, use a gel stain and then simply apply it over the cured glue. It will stick to the surface no matter what.
3. Paint Stripper: For the third attempt, you can use a paint stripper. This stripper strips out the most stubborn cured glue. It has the ability to strip out paint, varnish, enamels, and other adhesive substances of wood. So, careful use of it will bring advantages.
Not Recognizing the Wood
Today’s creativity has gone to such an extent that even manufacturers can manufacture materials that exactly look like wood. Thus, they can make a complete fool out of you if you have no direct experience with an original piece of wood. The real piece of wood carries pores and great absorbing power.
It also has natural adhesion for which the stain can easily penetrate deep and lasts pretty long. But most fake wood is laminated or made with veneer and has synthetic materials in them. It cannot absorb paint or stain and so it can make you baffled easily. Even some manufacturers mix the real wood with the synthetic ones and thus some spots won’t just take stain in them.
Solution: The only solution for this is to choose the right and original piece of wood. For this, you should learn how the grain patterns work in wood. The more you examine a piece of wood the better you can differ it from the fake one. After detecting the fake wood, you need to simply reject it and complain about the manufacturer.
Diversity of Wood
As there are numerous types of woods, it happens many times that it comes naturally with defects and some spots won’t just absorb the stain. It is a pure natural drawback and you have hardly anything to do about it.
Solution: You can choose some basic wood trees for the making of any wood project. Cedar, oak, pine, and some others come with the absorbing ability of the stain. You just need to prepare them correctly following the right ways. This will give you any rare experience where the spots won’t take stain.
Clogged Pores Due to Excessive Sanding
Another reason that some spots deny taking stains is the clogged pores. Pores are essential in wood as they help the stain to penetrate deep. But when you sand too much, the pores get clogged and that’s where the problem begins.
Solution: The only correction to this problem is to be thoughtful and patient while sanding. Overdoing it causes trouble, so you need to be very careful. Start with the coarse sandpaper of 80grit. Do the sanding with a gentle back and forth motion with this lower grit.
Then gradually use higher grit sandpaper from medium to fine. Remain within 180-grit fine sandpaper because this range is good for a material like wood.
Wood Conditioner Blocked the Pores
There are wood conditioners that many people use before staining as they penetrate deep and help the stain, especially, oil-based stain to be more uniform. But because of the different variations of woods, not all of them react positively to a wood conditioner.
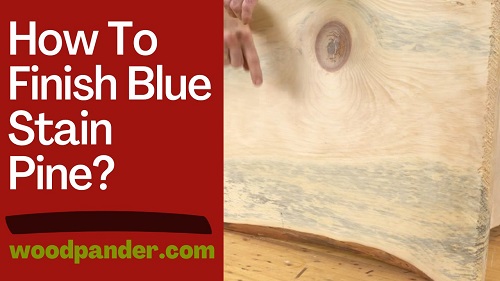
They might act oppositely by clogging or blocking the pores. Pine as a hard-to-stain wood creates problems like this and preconditioning it with a wood conditioner worsens the pores of this tree. Thus staining the surface of it becomes harder.
Solution: If you have already preconditioned your wooden surface with a wood conditioner, then you need to use a proper gel stain. It is a non-penetrating stain and will not ask for penetration. Also, you can have the exact finish that you have wanted.
Exotic Wood that Carries High Oil Content
There are exotic woods like teak, rosewood, and others that come with high concentrations of structure oil. The benefit of this condition is they are resistant to moisture and thus work firmly for the making of any work piece.
However, the downside of carrying this highly concentrated oil is they almost fill the pores of those woods. As a result, the stain cannot properly penetrate deep to the surface and you get an undesired finishing of it.
Solution: 1. De-waxed Shellac Coating: A thin coat of this de-waxed shellac can increase the adhesion power of these exotic woods with high oil content. Many think of using waxed shellac but you will not get a fine result as de-waxed shellac coatings provide.
2. Gel Stain: Applying gel stain is another easy solution for this penetrating problem. Also, for adhesion problems, gel stain works better.
3. Mixture of Tung Oil and Dyes: Another cool solution to this problem is using a mixture of Tung oil and dyes on wood. They can be a perfect alternative to gel stains too.
How to Fix Light Spots in Stain
There are some easier ways to fix light spots in stains. You can apply them and have a nice smooth stain on the wooden surface.
- Apply Another Coat of Stain: Many experts suggest that sanding to remove light spots on wood after staining can bring damage. That’s why it’s always better to apply another coat of the stain thinly to bury the spot.
- Darken the Color: Another hack to fix light spots in the stain is to apply dark color. Also, a gel stain will fix the whole situation nicely with the help of darken stain.
- Apply Oil-Based Wood Stain: This hack is only applicable to the surface where you have already applied an oil-based stain. It fixes the light spots when you apply the right amount of this stain. Even the dark spots on wood after staining gets effaced by this oil-based wood stain.
- Use Bleach: It is a very rigorous step but you need to handle it tenderly. Just bleach the light spots in stain the gently. If the stain gets abolished too then apply another coat of the stain.
FAQs
How do you fix wood stain blotches?
When you don’t sand properly, the stain blotches become visible. So, it’s important to sand properly.
What happens if stain doesn’t cure?
When the stain doesn’t cure, the liquid solvents gradually start to evaporate. At a certain point, it leaves a pigmented and wet condition on the surface of your wood.
Why is my wood stain still rubbing off?
Your wood stain can still rub off because its pores were clogged or you did not do a proper sanding. Also, you might have chosen the wrong stain for the wrong piece of wood.
How do you stain spots on wood?
To stain spots on wood you need to sand the place low-key. Then after cleaning those spots, you need to apply the stain.

