In the realm of creating beautiful, durable, and unique table tops, one technique stands supreme: the application of MAS epoxy.
This process, while requiring a degree of precision and patience, is undoubtedly worth the effort when you see the lustrous and hard-wearing finish that epoxy resin provides.
Before you embark on your journey of transforming an ordinary piece of furniture into an eye-catching masterpiece, gaining an understanding of epoxy resins, taking preventative safety measures, perfecting table top preparation, and learning the ins and outs of applying and curing MAS epoxy is of paramount importance.
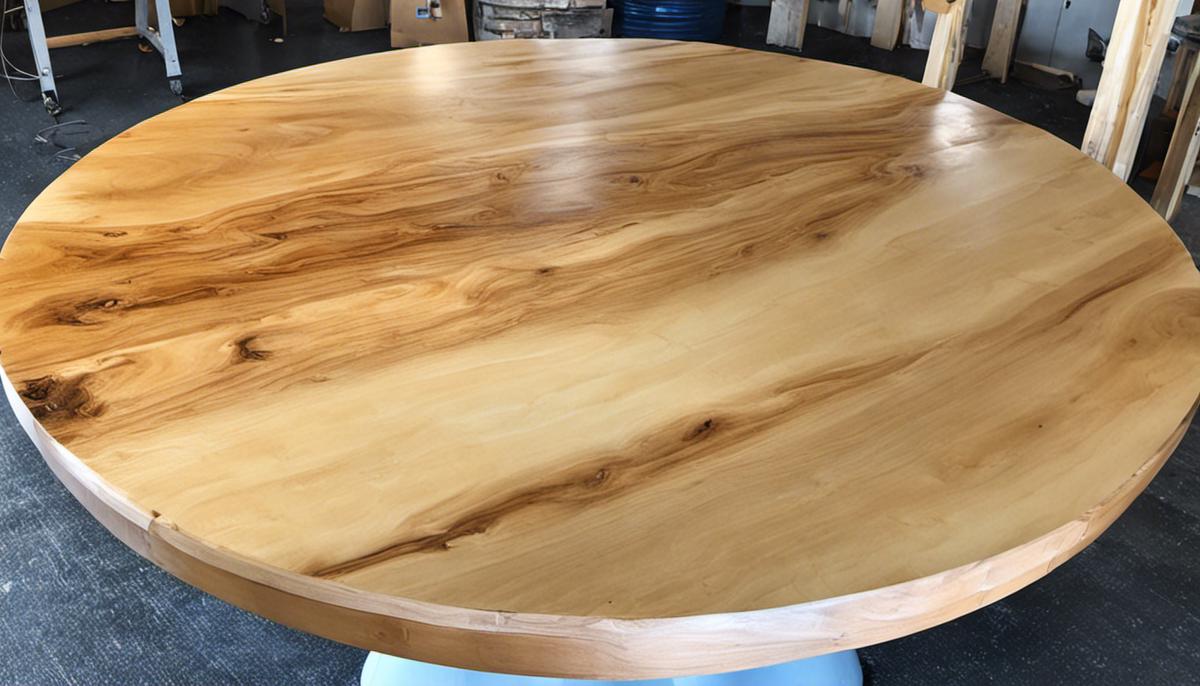
A MAS Epoxy Table Top is a stunning and durable surface created using high-quality epoxy resin, perfect for adding a unique and glossy finish to furniture and countertops.
MAS Epoxy Table Top
| Feature | MAS Epoxy Table Top |
|---|---|
| Durability | High |
| Clarity | Crystal Clear |
| UV Resistance | Excellent |
| Easy to Use | Yes |
| Curing Time | Varies (typically 24-72 hours) |
| Chemical Resistance | Excellent |
| Versatility | Suitable for a wide range of surfaces |
| Thickness Options | Available (e.g., 1/8″, 1/4″, 1/2″) |
| Coverage | Varies (depends on thickness and surface area) |
| Price Range | Moderate to High |
| Color Options | Available (various pigments and dyes) |
Exploring the World of Epoxy Resins
Understanding MAS Epoxy Resins
MAS epoxy is a type of epoxy resin, which belongs to a class of reactive polymers and prepolymers.
Epoxy resins are known for their ability to create durable and robust surfaces when mixed with a hardener.
Consequently, they are commonly used in a wide range of applications, from reinforcing fiberglass and carbon fiber to achieving high-gloss finishes on tabletops.
Learning About MAS Epoxy Resins
To better comprehend this material, it’s important to take note of some essential facts.
Firstly, unlike other epoxy resins, MAS epoxy does not exhibit blushing or sweating during the curing process. This means that it does not leave behind a waxy by-product on the surface, resulting in a cleaner cure compared to other resins.
Additionally, MAS epoxy boasts excellent gloss retention, allowing it to maintain its shiny appearance for extended periods. Moreover, it is highly resistant to UV radiation, enhancing its durability and reducing susceptibility to yellowing or damage caused by sun exposure.
Chemical Properties of MAS Epoxy
From a chemical standpoint, MAS epoxy consists of two main components: resin and hardener. When these two components are mixed in the correct ratio, typically 2:1 or 1:1, a chemical reaction occurs, yielding a hard, solid plastic material.
The properties can be altered by adjusting the ratio or incorporating other materials, making MAS epoxy highly versatile.
Safety Measures When Handling MAS Epoxy
Finally, it’s important to learn about the safety precautions you should take when handling MAS epoxy.
Prolonged or repeated exposure can cause skin irritation or allergic reactions. To protect yourself, always wear gloves and protective clothing and work in well-ventilated areas.
If you’re sanding an epoxy surface, wear a dust mask and safety glasses to prevent inhalation or eye contact. In case of skin contact, wash thoroughly with soap and water. If accidentally ingested or inhaled in large quantities, seek immediate medical attention.

Table Top Preparation
Table Cleaning Process
Firstly, any dirt, grime, paint, or existing sealers need to be thoroughly removed.
Some tabletops may only require a quick wipe down with a cloth or sponge and soapy water, but others might require a deep cleanse with an all-purpose cleaner or a mixture of vinegar and water.
If the tabletop is particularly greasy or grimy, a degreasing agent can be used effectively. Remember to rinse thoroughly after cleaning to prevent any residues from interfering with the epoxy curing process.
Sand Your Table Top
Sanding is an important step to ensure that the surface is fully prepared to receive the MAS epoxy. This process creates texture on the tabletop surface, allowing the epoxy to adhere properly.
Start by using a hand sander or sandpaper with a grit rating of approximately 120. Make sure to sand evenly, covering the entire surface, and then wipe away the dust that results from the sanding process with a damp cloth. Once it’s completely dry, you can then proceed to apply the mas epoxy.
Sealing Cracks and Holes
Before applying the MAS Epoxy, ensure that all cracks and holes in your tabletop are filled and sealed. Any gaps can allow the epoxy to seep through, potentially creating a mess and compromising the final appearance of your tabletop.
Wood filler or wood putty can be effectively used for this purpose. Press the filler into each hole or crack using a putty knife, ensuring it is flat and level with the tabletop surface. Allow it to dry thoroughly according to the product instructions before proceeding to the next step
Final Table Check
Once the tabletop has been thoroughly cleaned, sanded, and the cracks filled, it’s important to inspect the tabletop once more before applying the epoxy.
Any missed cracks or unsanded spots can cause complications. Be meticulous: Check for smoothness by running your hand across the surface. If it feels uneven or you can detect any bumps, you may need to sand again.
Once you’re confident in your tabletop preparation, you are ready to proceed with the epoxy application.
Reminder on Safety
While preparing your table, always prioritize safety. During the cleaning and sanding process, ensure that the work area is well-ventilated to avoid inhaling potentially harmful dust or fumes.
It is recommended to wear gloves and protective eyewear during these steps, especially when handling cleaning agents, sanders, or wood filler.
Applying and Curing the Epoxy
Mixing the Epoxy
Creating a MAS epoxy tabletop involves properly mixing epoxy. Generally, epoxy resin and hardener should be mixed at a 1:1 ratio.
However, it is important to consult the manufacturer’s instructions for the specific ratio. While wearing protective gloves, you can divide the epoxy into separate, clean plastic containers.
After measuring both parts, combine them in a larger container and thoroughly mix for a few minutes until the mixture becomes clear and no longer streaky. Be sure to stir the mixture gently to prevent the formation of excess air bubbles.
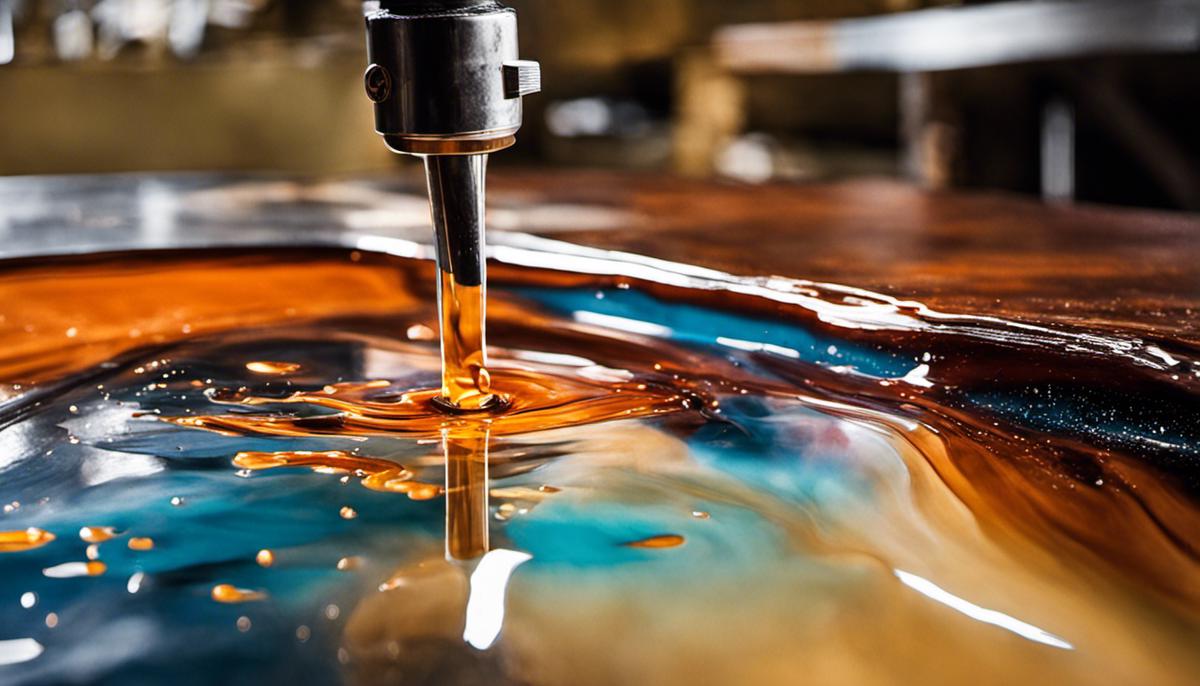
Pour Technique
When pouring the epoxy onto the table surface, apply it slowly and incrementally instead of all at once. Start pouring from the middle, then move your way towards the edges; this ensures an even spread.
Aim to pour it no thicker than 1/8 inch at a time to prevent any overheating or cracking as it dries.
Spreading the Epoxy
Using a plastic spreader or a foam brush, begin spreading the epoxy across the surface of the table, making sure it covers the entire area evenly.
Pay particular attention to corners, edges, and any intricate designs or carvings on the table surface. Ensure that you apply the epoxy in an even coat to achieve a perfectly smooth surface.
Utilizing Heat to Remove Air Bubbles
Air bubbles are a common issue when applying epoxy. To remove them, pass a heat gun or torch about 6 to 8 inches above the surface of the epoxy, gently sweeping back and forth.
The heat will cause the bubbles to rise to the surface and pop. This process should be repeated several times during the initial stages of curing for the best results.
Curing Time and Conditions
Properly curing epoxy is essential for achieving a durable and long-lasting finish. Typically, MAS epoxy will start to harden within 24 hours of application, but it can take up to 72 hours or more to fully cure.
The curing process is best done in a controlled environment with a temperature between 70 and 75 degrees Fahrenheit. Keep the surface dust-free and undisturbed until the epoxy reaches a fully hardened state.
Embracing the process of applying MAS epoxy to a tabletop can be a rewarding endeavor, with the final result being a remarkable fusion of durability and charm. From developing an understanding of the chemical properties of epoxy resins to mastering tabletop preparation and the art of curing, this journey undoubtedly calls for precision and passion.
The interplay of safety, art, and science surely offers an enriching experience, teaching patience and fostering room for imagination and creativity along the way.