Wipe On Polyurethane, or ‘wipe on poly’ as it is commonly referred, has increasingly become a household name in woodworking and DIY projects.
This phenomenal product, known for transforming and augmenting both indoor and outdoor wooden surfaces, captures the interest of both novices and seasoned woodworkers alike. But like every other tool in the toolbox, it too comes with its fair share of intricacies and challenges.
This comprehensive guide will escort you through the myriad prospects of this fabulous finish, its common hitches and how to navigate those, the essentials to achieving that flawless finish with the right products and tools, and tending to and maintaining your wipe on poly surfaces for sustainable beauty and durability.
Problem
Description
Causes
Solutions
Streaks and Uneven Coat
Inconsistent application resulting in streaks
Uneven pressure during application
Apply even pressure and use long strokes
Bubbles
Air bubbles trapped in the finish
Aggressive stirring or shaking
Gently stir or use a strainer
Drips and Runs
Excess product pooling and dripping
Overloading the applicator
Apply thinner coats and wipe excess
Tacky Surface
Finish remains sticky after drying
High humidity or improper drying time
Allow more time to dry or use dehumidifier
Dust and Debris
Particles stuck in the finish
Poorly cleaned work area or applicator
Keep work area clean and use lint-free cloth
Brush Marks
Visible brush strokes on the surface
Inadequate brushing technique
Use high-quality brush and brush evenly
Yellowing
Finish turns yellow or amber over time
Exposure to UV light or low-quality finish
Use UV-resistant poly or high-quality product
Cracking
Finish develops small cracks or fissures
Overly thick coats or temperature changes
Apply thinner coats and maintain stable temperature
Fish Eye
Small circular craters in the finish
Contaminated surface or finish
Clean the surface thoroughly before application
Wipe On Poly Problems can include uneven application, streaks, bubbles, and extended drying times. These issues often arise due to improper technique, inadequate surface preparation, or environmental factors. To achieve a smooth finish with wipe-on polyurethane, it’s essential to follow instructions carefully, sand between coats, work in a dust-free area, and maintain consistent strokes for an even finish.
Understanding Wipe On Poly
Got a love for woodworking? You’ve probably heard of wipe-on poly, or polyurethane. It’s a favorite amongst craftspeople and do-it-yourselfers. As with any tool or product utilized in the workshop, understanding what wipe-on poly is and how it works can be a game-changer in how you approach your woodworking projects.
But what exactly is wipe-on poly? It’s a variant of regular polyurethane that’s been thinned with mineral spirits, making it easier to apply and manage.
Regular polyurethane may leave brush strokes, drips, or runs, but wipe-on poly offers a unique advantage here – it virtually eliminates these possibilities due to its thinner consistency.
Many woodworkers opt for wipe-on poly as it provides a more controlled and even finish, enhancing the natural beauty of the wood.
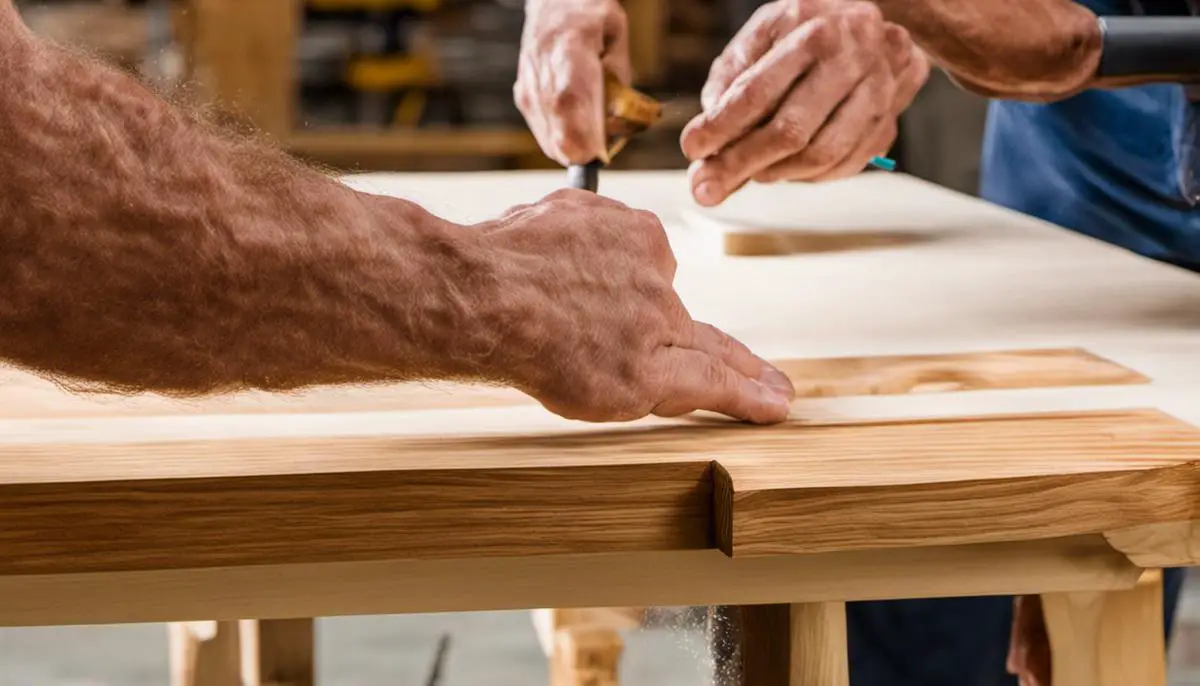
Let’s dig into the working mechanism of this wonderful product. The application of wipe-on poly begins with a thoroughly sanded and dust-free piece of wood.
A soft, lint-free cloth or pad is then soaked (but not dripping) with the poly. Following the grain of the wood, it’s gently wiped onto the surface.
Applying thin, even coats is key. Too much and the poly won’t dry properly. Too little, and the wood won’t be adequately protected.
After applying the first coat, let it dry as per the manufacturer’s recommendation. This could range from a couple of hours to overnight.
Once it’s dry, lightly sand the surface with a fine-grit sandpaper (220-grit or higher), and wipe away the dust.
This step ensures a strong bond between the subsequent layers of polyurethane. Repeat the process, applying additional coats until you have achieved the desired depth of finish.
One of the most intriguing aspects of using wipe-on poly is that it’s self-leveling. This means it flows out evenly over the surface of the wood, naturally leveling itself to reduce brush marks and ridges without your intervention.
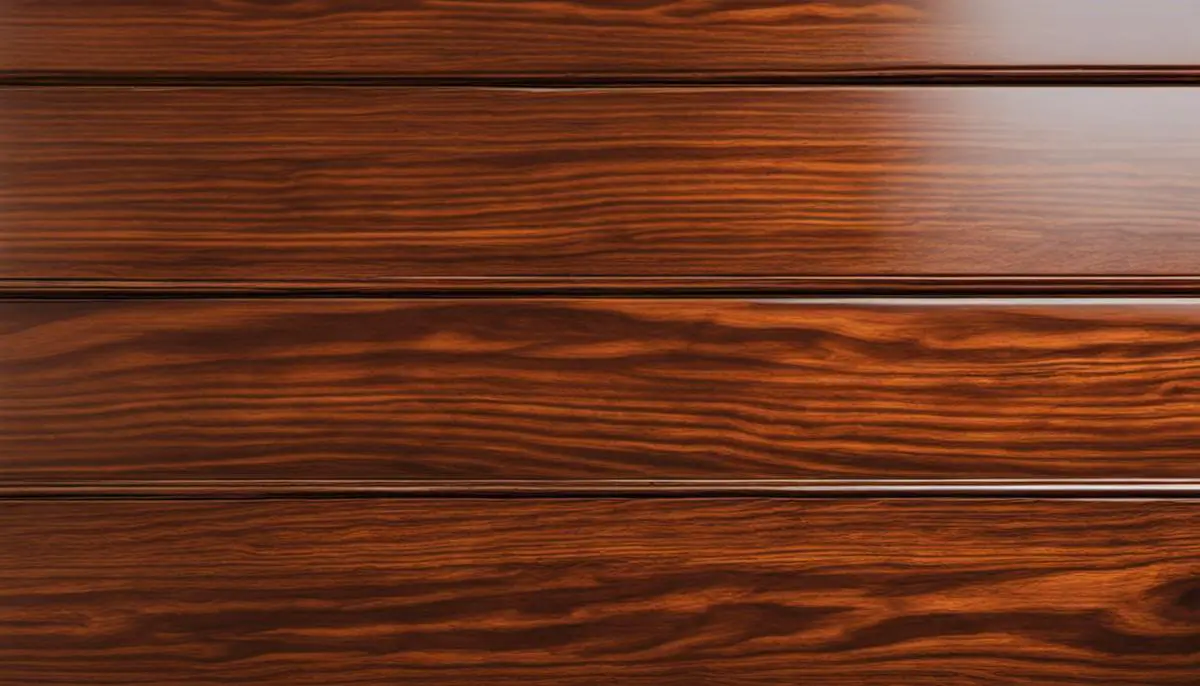
It dries into a hard, protective finish that repels water and resists scratches, highlighting the grain and figure of the wood beautifully. The final result is a clear, smooth finish that’s as pleasing to the touch as it is to the eye.
Ultimately, wipe-on poly offers a simple and effective finishing solution without the complexities that traditional polyurethane might bring. It’s a game-changer for hobbyists and professional woodworkers alike seeking that perfect finish every time. Happy woodworking!
Delving into the World of Wipe-On Poly: Common Challenges
Stepping up your woodworking game from a simple coat of varnish to the sophisticated finesse of wipe-on poly is a game-changer.
The magical blend of oils and polyurethane yields a durable finish with a glorious depth that accentuates the wood grain to perfection. However, like climbing any skill mountain, you may stumble upon a few stumbling blocks. This article offers you a survival guide to some snags you might encounter while using wipe-on poly.
First on this list is the famous “streaky finish”. You dream of a lustrously smooth sheen, but all you get is an excess of uneven lines.
This issue often comes about from the use of low-quality applicators. Kitchen paper towels might be handy, but they should never cross paths with your precious wood. Instead, opt for a high-quality lint-free cloth or foam brush; the extra bucks will pay off in the form of a streak-free finish.
Another notorious enemy in the wipe-on poly world is “drying issues”. Unlike regular polyurethane, wipe-on poly isn’t as forgiving when coats are applied too thick. If dry areas interspersed with wet patches spoil your masterpiece, your coats are too heavy. Remember, thin is win with wipe-on poly—the thinner the coat, the better.
“Tackiness”, the horrible feeling of unfinished business: signifying a sticky calamity. The culprit here is usually insufficient drying time between coats or a humid environment which prolongs the drying process.
Patience is key in achieving a perfectly sealed piece; give each coat ample time to dry thoroughly, and remember that humidity is not your friend when it comes to applying wipe-on poly.
“Bubbling”, those annoying little blisters that compromise a smooth finish can be an issue especially during warmer weather.
Bubbles can be induced by fast and forceful application methods. Gentle application is the best way to avoid this – just lightly wipe your applicator over the surface, letting the polyurethane flow onto it.
For those dealing with “dull finishes”, it’s often a case of having finished with a coat that’s too thin or has been over-buffed between applications. To counter this, ensure your final coat is a smidgen heavier and resist the temptation to buff the finish excessively—you want to leave enough poly on the surface to provide that glossy effect.
Finally, “color darkening” can often occur with wipe-on poly. While wipe-on poly generally enhances the natural hue of the wood, it may darken it a bit too much, especially if you’re working with lighter woods. To ensure that you’re happy with the final shade, always test your finish on a scrap piece of the same wood first.
Expect and prepare for these common hiccups, and the end product of your labor will be a testament to your woodworking prowess.
Bask in the glossy glory of your wipe-on poly finished piece; the hurdles you overcame to get there will just make it shine even more brilliantly!
There’s a sense of satisfaction in overcoming challenges, and each obstacle vanquished in your woodworking journey with wipe-on poly contributes to your ever-growing repository of skills and knowledge.
Solutions to Wipe on Poly Problems
Fixing and Avoiding Common Problems with Wipe-on Poly
The world of woodworking is filled with all sorts of fascinating discoveries. One such discovery is wipe-on poly, a favorite finishing agent of hobbyists everywhere.
As any enthusiast will tell you, while this substance can truly make your project shine, there can be stumbling blocks along the way. Let’s talk about how to overcome these challenges, so even a novice can aspire to a glossy, professional-looking finish.
One of the most common issues encountered while using wipe-on poly is a streaky finish. This is generally due to the use of low-quality applicators.
The solution is simple: swap out that paintbrush for a lint-free cloth or a foam brush instead. They’re game-changers when it comes to working with wipe-on poly!
Slightly trickier is the problem of drying issues, often a result of applying a thick layer of wipe-on poly. As with most good things, wipe-on poly is best applied in moderation. Applying thin coats and allowing each one to dry properly can help avoid this issue. Remember, several thin coats are better than a single thick one, as they lessen the risks of drying problems.
Next up is tackiness, no one likes a finish that stays sticky even after drying. This can be caused by not allowing enough drying time or working in a very humid environment. Giving due attention to drying time is crucial, an aspect all too often overlooked. Avoid the desire to rush, remember it’s your passion project not a race!
Then we have the issue of bubbling, these tiny foes are induced by aggressive application. This can be largely avoided by applying wipe-on poly slowly and with a gentle hand. Think of it like petting a cat – swift and forceful won’t work, but soft and gentle will get you the results you want.
Now let’s tackle dull finishes. This is usually a result of using too thin a layer or over-buffing the surface. Striking the perfect balance here can be a bit tricky, but is achievable. Be sure not to scrub away too much of the product in your earnestness to achieve a smooth finish. Wipe-on poly needs to be there on the surface to do its magic!
Lasty, for those working with light woods, be aware that wipe-on poly can cause darkening. This effect isn’t always a negative–in fact, sometimes it might be just what’s needed to bring out the grain or character of the wood. However, to avoid any unexpected surprises, always test the poly on a scrap piece first.
Every hobby comes with its fair share of challenges, and woodworking is no exception. But armed with the right knowledge, these potential hiccups can be avoided, and even a newcomer to the world of woodworking can achieve stunning results with wipe-on poly. So, don those safety glasses, roll up those sleeves, and embark on the journey towards the perfect finish.
Selecting the Right Products and Tools
Now, focus is shifted to the essential equipment and tangible factors that come into play when working with wipe-on poly. Having the right tools at your disposal can significantly impact the quality of your finished piece. So, let’s get right to it!
Firstly, and perhaps most importantly, an appropriate applicator is needed. While some swear by a simple lint-free cloth, others prefer the precision of a high-quality foam brush. A lint-free cloth, like an old t-shirt or similarly reliable material, ensures that the surface of your wood doesn’t get infiltrated by pesky fibers during the application. Foam brushes, on the other hand, make it easy to get a smooth, even application, and limit the possibility of drip marks.
Safety should never be taken lightly. When working with polyurethane, it’s of utmost importance to use disposable gloves. Not only can the substance be sticky and challenging to remove from skin, but it might also cause skin irritation in some individuals. Also essential is a disposable respirator. Even though wipe-on poly typically isn’t as potent as some other finish types, you still don’t want to be inhaling the fumes over an extended period.
The process will also require some fine-grit sandpaper, typically ranging between 220 and 400 grit. This will allow you to sand down any imperfections and ensure a perfectly smooth final coat. Keeping some mineral spirits at hand is also useful for cleaning off your tools or any incidental spills.
Then, you’ll also need good lighting. It may seem trivial, but having a well-lit workspace is crucial for observing any problem areas such as bubbles, streaks, or tacky spots. The better your visibility, the higher the likelihood of achieving a perfectly even coat.
Consider also investing in a quality varnish brush. While not always necessary, some woodworking enthusiasts find the stiffness and flat edge of a varnish brush help to lay down the poly with greater control and precision.
Remember, the first few times you apply wipe-on poly, it might not go as smoothly as expected. Skills improve over time. Every single piece you finish brings you one step closer to mastering this fulfilling and practically therapeutic woodworking process! After all, it’s all about learning, being flexible, and finding out what works best for you on your woodworking journey. Happy crafting!
Refreshers: Care and Maintenance
Maintaining and Protecting your Wipe-On Poly Surface
Having treated your wood with wipe-on poly, it’s crucial to understand how to appropriately care for the surface to preserve its look and durability.
Remember, this type of finish is celebrated for creating a protective shield for your wood from dings, scratches, water damage, while showcasing the natural beauty of the timber. With all the effort and passion you poured into your woodworking project, ensure unmatched protection by maintaining the integrity of your wipe-on poly finish.
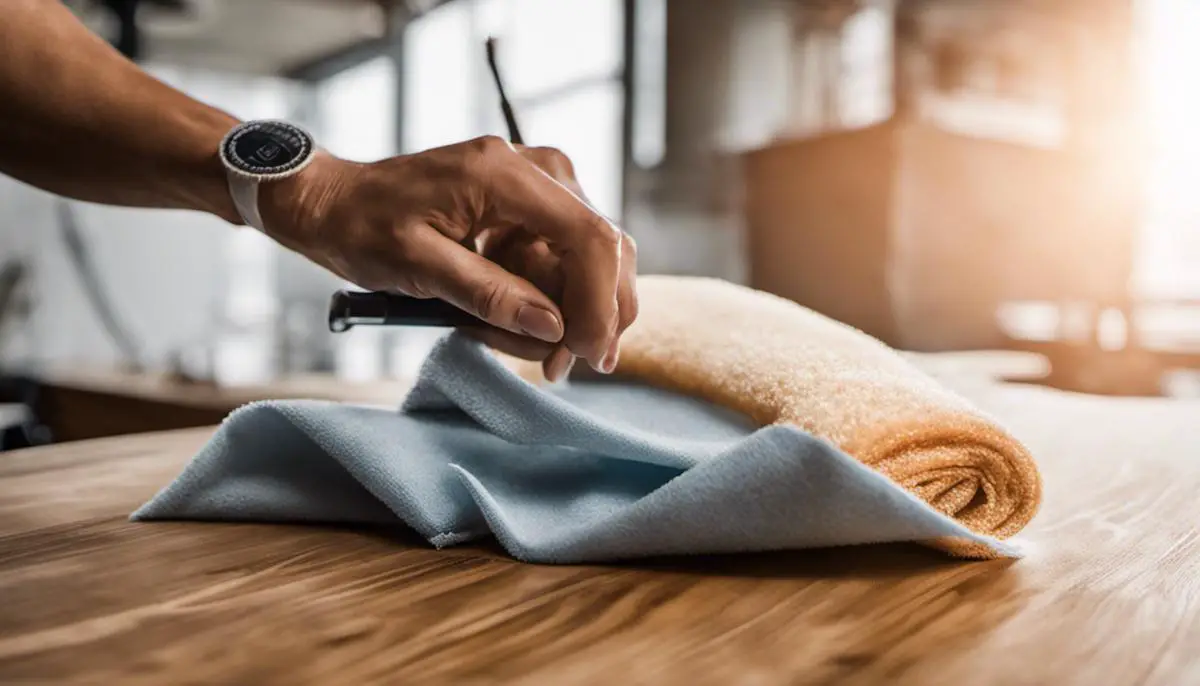
The first step in caring for your wipe-on poly surface is cleaning.
It’s imperative to keep the treated surface dust-free. A simple, light dusting using a soft cloth is typically sufficient for regular upkeep.
For more thorough cleaning, using a mild soap and warm water is just as effective without damaging the finish. Always ensure your cloth or sponge is only damp, and never soppy wet, and it’s best to air dry or use a clean, dry cloth to prevent any water spots.
Dry isn’t always synonymous with cured. Sometimes, your newly applied wipe-on poly may seem dry to the touch, but adequate curing time is paramount. While it’s generally safe to use the surface lightly after 24-72 hours, a full cure is achieved in about 30 days.
Throughout the curing process, the surface becomes harder and more resistant to everyday are and tear. Striking the delicate balance of patience and passion is key in allowing adequate curing time before heavy usage to prevent premature wear.
Did you spill something on your wipe-on poly surface? Don’t sweat it. When spills occur, the goal is to ensure it is quickly and thoroughly cleaned.
Use a damp cloth immediately to clean the spill and avoid allowing any liquids to sit for an extended period on the surface. Swift action minimizes the possibility of any stains or water rings.
Emergencies can happen, and sometimes your wipe-on poly surface may suffer from a scratch or ding. Thankfully, one of the superpowers of wipe-on poly is its ease in repairs. Light scratches can often be handled with a new light coat of poly. For deeper scratches, gently sand the affected area with fine-grit sandpaper, apply a coat of wipe-on poly, and let it cure. Good as new!
Remember, woodworking is a commitment and passion, and there’s no room for corner cutting when caring for our works of art.
Humid conditions can spell disaster for your project; the coating might remain tacky or fail to cure properly, so maintain a consistent, dry environment. Moreover, protect your furniture from harsh sunlight or hot objects, which might ruin the finish over time.
While maintaining the surfaces that have been treated with wipe-on poly requires a watchful eye and vigilance, the reward is a long-lasting and beautiful touch which radiates the love you put into the project. You’ve taken painstaking time to create and finish your piece, so give it the care it deserves.
With these tips, your pieces will continue to shine, gain character, and charm everyone who comes across them. Now, keep making woodworking magic with full confidence in your ability to protect your prized projects!
Over the course of our discussion, we’ve sifted through the ins and outs of wipe on poly, its incredible uses, and how to navigate its common problems for a smooth, lustrous finish that stands the test of time.
Without a doubt, the meticulous prepping of your surface, careful selection of products and tools, and regular upkeep are indispensable parts of the procedure.
Addressing issues swiftly and efficiently, following the recommended guidelines, will ensure longevity of your work. Whether you’re a seasoned woodworker, or a DIY enthusiast, these nuggets of wisdom will enhance your understanding and application of wipe-on poly, propelling you further on this journey of creating beautiful, timeless wooden surfaces.
How does Wipe-On Poly differ from Polyurethane?
Polyurethane is the main component of Wipe-On Poly. While polyurethane is a versatile polymer used in various applications, Wipe-On Poly is specifically designed as a finish for wood surfaces.
How long does it take for Wipe-On Poly to dry?
Wipe-On Poly has a relatively quick drying time compared to other finishes, allowing for multiple coats to be applied in a shorter amount of time.
How does Wipe-On Poly affect the appearance of wood surfaces?
Wipe-On Poly creates a thin coating on wood surfaces, giving them a smooth and glossy appearance while preserving the natural grain and texture.
How do I apply Wipe-On Poly?
Wipe-On Poly is applied using a cloth or sponge, making it easy to achieve a consistent and even finish on wood surfaces.
Is Wipe-On Poly durable?
Yes, Wipe-On Poly is known for its durability. It offers long-lasting protection for wood surfaces against wear and tear, making them more resistant to stains and spills.
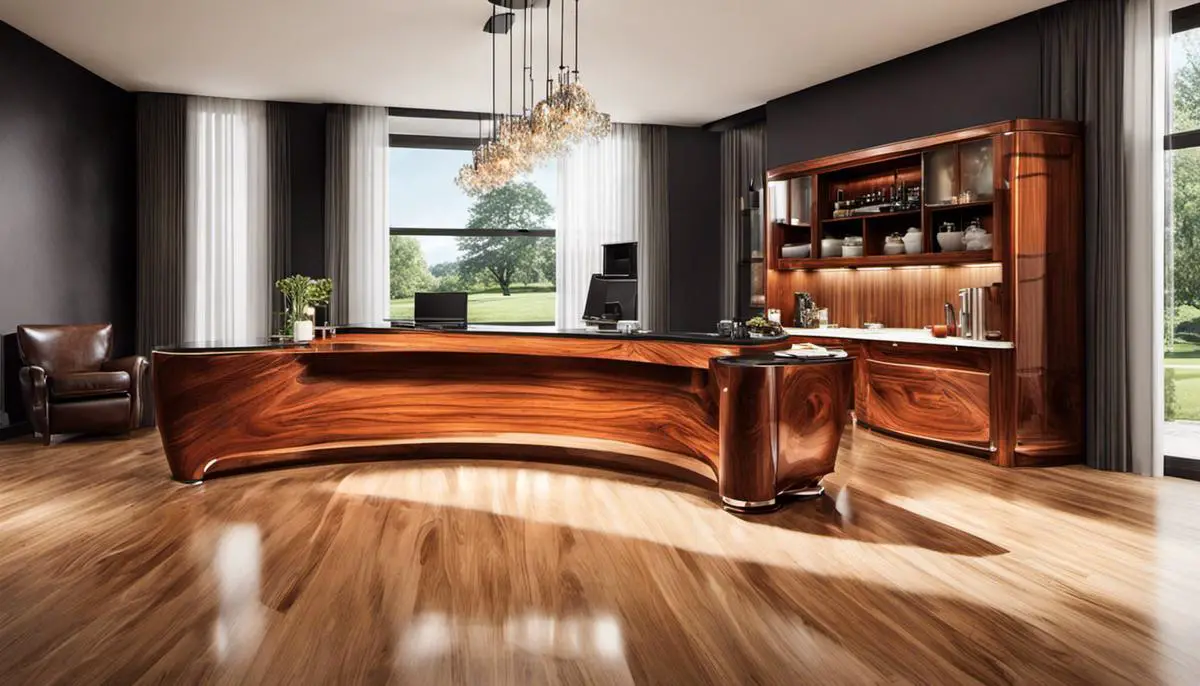
Where is Wipe-On Poly commonly used?
Wipe-On Poly is commonly used on wood surfaces such as furniture, cabinets, and flooring to provide a protective layer and enhance the natural beauty of the wood.
What does Wipe-On Poly do for wood surfaces?
Wipe-On Poly is applied as a finish to wood surfaces, providing a protective coating that helps prevent damage from moisture, scratches, and UV rays.
I'm a woodwork enthusiast and have loved to do DIY projects since my teenage. Till then, I have learned the 'Art of Wood' to rejuvenate my home interior, plumbing, and fixing. My blog woodpander.com leads information, for woodworking interested guys or just curious to know about woodworks.

")