Revitalizing a prized piece of furniture, such as a veneer table top, not only restores its appearance but also breathes new life into it.
Veneers, a perfect blend of beauty and resilience, effortlessly accentuate the appeal of any piece of furniture. Although seemingly complex, refinishing a veneer table top isn’t as intimidating when armed with the right knowledge.
This discussion delves into a comprehensive exploration of the subject, covering everything from understanding the intricacies of veneer and its unique distinguishing characteristics to the materials and tools required for the project.
We will also explore effective preparation techniques and provide a practical, step-by-step refinishing guide designed to empower any enthusiast looking to take on this rewarding task.
To refinish your veneer table top, start by sanding it gently to remove old finish, then apply a new coat of veneer-friendly stain or paint for a refreshed look.
Understanding Veneer Table Top
Veneer Table Top Types
| Veneer Type | Appearance | Cost | Strength | Grain Pattern |
|---|---|---|---|---|
| Rotary-Cut | Natural, wavy grain | Low | Moderate | Varied, irregular swirls |
| Plain-Sliced | Classic, cathedral | Moderate | Moderate | Prominent cathedral arches |
| Rift-Cut | Straight, linear | Moderate | High | Straight, linear grain |
| Quarter-Sliced | Fine, straight grain | High | High | Uniform, straight grain |
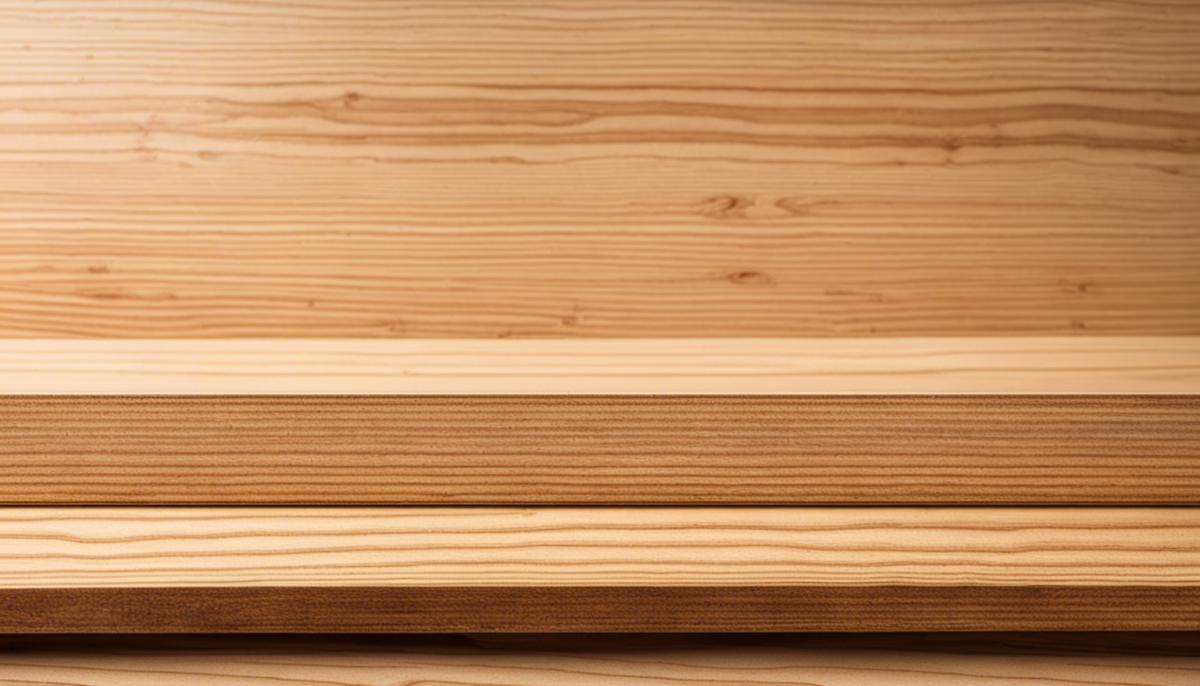
Veneer is a thin layer of real wood that is glued onto a heavier substrate, often plywood, medium-density fiberboard (MDF), or particleboard.
The type of veneer used can significantly impact the process and result of refinishing a tabletop. Some of the most common veneer types include rotary-cut, plain-sliced, rift-cut, and quarter-sliced veneer. Each type varies based on how the logs are cut, which determines the particular grain pattern and characteristics of the veneer.
For instance, rotary-cut veneer is produced by turning the log against a blade, resulting in a bold and varied grain pattern.
Plain-sliced veneer is made by slicing the log at an angle, creating a more uniform grain pattern.
Rift-cut veneer is produced by cutting the log at a slight angle to the growth rings, highlighting the vertical grain
Veneer Characteristics and Specific Treatments
Regardless of the type, veneer is generally thin and thus requires careful handling during the refinishing process.
It is prone to splitting, cracking, and sand-throughs. Each type of veneer may also require specific treatments based on its characteristics.
For instance, veneers with distinct and bold grain patterns might perform well with clear finishes that allow the natural beauty of the wood to shine. In contrast, quarter-sliced veneers with highlighted patterns might require colored finishes to emphasize the unique features of the wood.
Prior to any treatment, it’s essential to clean the veneer surface thoroughly to get rid of any existing finish or dirt. Gentle sanding can also be useful, though care should be exercised to avoid damaging the thin veneer surface.
Veneer and Different Types of Finishes
| Aspect | Veneer | Paint Finish | Stain Finish | Lacquer Finish |
|---|---|---|---|---|
| Material | Thin slices of real wood | Applied to various surfaces | Absorbs into wood fibers | Synthetic or natural resin |
| Appearance | Natural wood grain | Solid color or pattern | Enhances wood grain | Smooth and glossy |
| Durability | Moderate | Good | Good | Excellent |
| Maintenance | Requires care and protection | Easy to clean | Moderate care | Easy to clean, but may chip |
| Cost | Moderate to high | Low to moderate | Low to moderate | Moderate to high |
| Application | Surface layer | Topcoat over various surfaces | Soaks into wood surface | Thin layer on the surface |
| Customization | Limited patterns and species | Wide range of colors and patterns | Enhances existing wood | Limited customizability |
| Environmental Impact | Uses real wood, can be sustainable | Low-VOC options available | Low-VOC options available | Can be high in VOCs |
Different types of finishes, such as varnishes, oils, paints, and stains, can be used on veneer. However, always test a small, hidden area first to see how the veneer responds.
Lacquer, for instance, is a common choice as it is durable and easy to apply. Stains can also be used, but it is necessary to start with a light coat and build up the color gradually, as veneer can absorb stain unevenly.
Regardless of the finish you choose, it’s essential to apply it thinly and evenly, using multiple coats if necessary. Allow ample time for each layer to dry fully before applying the next for optimal results
Common Problems and Solutions in Refinishing Veneers
One common issue when refinishing veneer is sanding through the thin layer. This can be avoided by using fine grit sandpaper and sanding lightly, just enough to remove the existing finish.
Another common problem is applying too much stain at once, which can lead to uneven coloration. To avoid this, apply the stain in thin, even layers and let it dry fully before applying the next coat.
Chipping is another problem that can occur when refinishing veneer. It’s essential to use sharp tools and gentle techniques to avoid damaging the veneer. If chipping has already occurred, some wood fillers can be used to repair small chips or cracks.
Bubbling or blistering of the veneer can occur, especially when too much heat or water is applied. It’s crucial to keep the surface dry and avoid exposing it to extreme temperatures during the refinishing process. If bubbling occurs, try using a veneer softener to flatten the bubbles before applying the finish.
By understanding these characteristics and potential pitfalls, you’ll be well-prepared to successfully refinish your veneer tabletop.

Materials and Tools
| Materials | Tools |
|---|---|
| Veneer sheets | Veneer saw |
| Wood adhesive | Veneer tape |
| Sandpaper | Veneer roller |
| Veneer softener | Veneer scraper |
| Substrate (e.g., plywood) | Utility knife |
| Finishing supplies | Veneer hammer |
| Masking tape | Clamps (bar or spring) |
| Wax paper or plastic | J-roller (for large areas) |
| Veneer sealer | Sanding block or sponge |
| Wood filler (if needed) | Veneer edge banding machine |
| Stain or finish | Mallet (for delicate work) |
Required Materials and Tools
To refinish a veneer table top, you’ll first need a variety of sandpapers. Start with a low grit, such as 80 or 100, to remove the old finish, then gradually progress to medium grits like 150 or 180, and finally, fine grits at 220 to smooth the surface in preparation for priming and painting. Sandpaper prices can vary, but you should aim to spend around $10 for a multi-pack with different grit types.
Additionally, you will need primer and paint. A good-quality primer can help seal the wood and provide a suitable surface for the paint to adhere to. The price typically ranges from $15 to $30, depending on the brand. As for the paint, select a durable, furniture-friendly product. Prices may range from $20 to $50 per gallon, depending on the brand and finish you choose.
You will also need varnish or a top-coat sealer to protect the paint and achieve a glossy or matte finish. The price may vary from $10 to $25, depending on the finish type and the size of the container.
Comparison of Brands
| Product | Primers | Paints | Varnishes |
|---|---|---|---|
| Brands | Zinsser, KILZ | Sherwin-Williams, Behr | Minwax, Varathane |
| Variety | Diverse options | Coverage and durability | Various finishes |
| Specialization | Tailored for surfaces | Wide range of finishes | Gloss to matte options |
| Affordability | Budget-friendly options | – | – |
| Durability | – | High durability | Known for durability |
| Application | – | – | Ease of application |
When it comes to brands, for primers, Zinsser offers a variety tailored to different types of surfaces and conditions. Meanwhile, KILZ provides some budget-friendly options.
For paints, Sherwin-Williams and Behr are highly regarded for their coverage and durability. Both brands offer a range of finishes, including satin, semi-gloss, and high gloss.
As for varnishes, Minwax and Varathane are excellent choices. They offer a variety of finishes, from high gloss to matte, and are known for their durability and ease of application.
Necessary Equipment
To apply these products, you’ll need a good-quality paintbrush, roller, or sprayer. The choice between these tools depends on your comfort level and the specific project requirements. Each tool ranges in price from $5 to $20, depending on the brand and size.
Finally, don’t forget your safety gear. You’ll need gloves to protect your hands, a mask to prevent inhaling fumes and dust particles, and safety glasses to protect your eyes. This equipment is relatively inexpensive and will usually cost under $5 per item.

Preparation and Techniques
Cleaning Your Veneer Table Top
Begin the process of refinishing your veneer table top by cleaning it first.
Use a mild dish soap and warm water mixture.
Use a soft, clean rag to scrub any dirt, grime, or previous finishes from the surface of the veneer. Be careful not to oversaturate the veneer, as it’s porous, and excessive water could cause damage.
Once finished, allow the table to dry fully before moving on to the next step.
Sanding Your Veneer Table Top
After the table is free of dirt and dry, it’s time to sand. Use a fine-grit sandpaper (220-grit is recommended) and lightly sand the entire surface of the veneer.
Sanding serves two purposes: it smooths out any imperfections and provides some “tooth” for the upcoming primer and paint to adhere to. Be cautious not to sand through the veneer, as this could cause irreparable damage.
After sanding, use a dry cloth or tack cloth to remove any dust.
Applying Primer to Your Veneer Table Top
Priming the table before painting is crucial. It provides a smooth base for the paint to adhere, and it also helps prevent stains from bleeding through the paint.
Use a primer made for veneers and apply a thin, even coat with a clean brush or roller, following the manufacturer’s instructions. Allow the primer to dry fully before proceeding.
Painting Your Veneer Table Top
Once the primer is dry, it’s time to paint your table. Choose a high-quality paint suitable for veneer.
Use a clean brush or roller to apply a thin, even coat following the direction of the grain of the wood. Allow the paint to dry fully, and then apply a second coat if necessary.
Varnishing Your Veneer Table Top
After the paint is completely dry, you’ll want to apply a clear varnish to protect your table and provide a glossy finish. Use a varnish suitable for veneer and apply it according to the manufacturer’s instructions.
You may need to apply more than one coat of varnish to achieve the desired level of protection and sheen. Always allow the varnish to dry fully between coats.
By following these steps, you can successfully refinish your veneer table top. It may take some patience and effort, but the end result will be worth it. A beautifully refinished veneer table can be a point of pride and a functional piece of furniture for years to come

Actual Refinishing Step-by-Step
Assessing the Condition of the Veneer Table Top
Start by examining your veneer tabletop closely. Look for any chips, cracks, or peeling veneer. If the veneer is loose or peeling, it might need to be glued down or replaced entirely.
On the other hand, if it’s just a little worn or dull, a simple refinishing job should revive its luster.
Cleaning the Table Top
Before refinishing, the tabletop must be properly cleaned. Use a mild soap and warm water to clean any dust, grime, or residue off the surface.
Try to avoid soaking the veneer as this could cause it to bubble, peel, or discolor.
Once cleaned, dry the surface thoroughly with a soft, non-abrasive cloth. Leaving any moisture can cause the wood to swell and damage the veneer.
Sanding the Table Top
Next comes the sanding. Be really gentle as veneer is typically thin, and aggressive sanding can wear through it to the underlying wood. Use a fine-grit sandpaper (220 grit) and lightly sand the surface until it feels smooth under your fingertips.
Make sure to sand in the direction of the wood grain to avoid scratches. Once done, wipe the table with a damp cloth to remove the dust.
Applying the Primer
Before painting, apply a good-quality primer. This will give the paint a solid base to adhere to and prevent it from soaking into the wood. Use a foam brush for a smoother finish and allow the primer to dry completely.
Painting the Table Top
When it’s time to paint, apply thin, even coats using a flat brush or a small roller. Work in the direction of the wood grain.
It’s better to apply several light coats rather than one heavy coat. Let each coat dry completely before applying the next one. Painting veneer can be tricky; if the paint isn’t adhering well, you might need to lightly sand between coats.
Applying the Finish
Finally, seal your work with a clear polyurethane finish, which can add durability and shine to your tabletop.
Apply two to three thin layers, allowing each one to dry before applying the next. Be sure to use a good-quality brush to avoid brush strokes on the finished product.
Common Mistakes and Tips
Remember, patience and preparation are key to a successful veneer refinishing job. One common mistake is rushing the drying process between paint or finish coats; always give ample time for each layer to dry.
Also, ensure your work area is well-ventilated to avoid any health issues from fumes. Another important tip is to always work with the grain rather than against it; this will avoid scratches and an uneven finish.
Don’t forget, whenever you have a doubt, it’s better to apply less force or less product – you can always add, but it’s hard to take away.
After progressing through this guide, your proficiency in refinishing a veneer table top will be significantly enhanced. As you navigate through the specifics of veneer and the materials and tools necessary for refinishing it, your understanding will deepen.
Furthermore, your knowledge will be solidified through practical guidelines on preparation techniques, painting, and the application of finishes.
Finally, by acknowledging common mistakes and learning how to avoid them, you will face a much lower risk of encountering setbacks during your refinishing project.
Therefore, this guide will not only bolster your mastery of the subject but also imbue a sense of accomplishment in seeing your furniture pieces restored to their former glory, all by your own hand.

