You’ve just finished varnishing on your wooden surface. Now, you’re trying to stain your bare wood. But you messed up the whole thing by creating some blotchy stain.
So, your concern is, how to fix blotchy gel stain?
Well, you can solve the problem by following a few steps. Firstly, you have to prepare your workspace. Then the next step is sanding the wood. Finally, you need to wipe out the extra gel. These 3 steps can solve your blotchy gel.
However, it’s hard to understand the procedure from this amount of information. So, make sure to stick with us for the main part!
Sounds good? Let’s just get into it then!
Understanding the Causes of Blotchy Gel Stain
Blotchy gel stain can be caused by factors like uneven application, variations in wood porosity, and inadequate preparation. Uneven application occurs when the stain is not spread evenly across the surface, resulting in patchy areas.
Wood porosity variations refer to the natural differences in how wood absorbs the stain, leading to uneven coloration. Inadequate preparation, such as failing to sand the wood properly or not using a wood conditioner, can also contribute to blotchiness. Understanding these causes is crucial for effectively fixing blotchy gel stain.
3 Steps On How To Fix Blotchy Gel Stain
Gel stains sometimes act hard to get along with. But you can definitely repair this issue.
Here, we have prepared a 3-step solution to get rid of the blotchy stains. We’ve tried to guide you as simply as possible.
So, you can learn it easily and follow the procedure without any hassle.
Tools required
Before jumping into the working session, there are a few basic equipment’s you’ll require. These items are-
- 100-200 Grit Sander
- Mineral Spirits or Lacquer Thinner
- Rag
- Nitrile Gloves
- Respirator
- KN95 Mask
- Lab Coat
- Safety Goggles
We hope you have gathered all the necessary items. If the answer is yes, let’s go to the main part, which is discussed below-
Step 1 of 3: Preparing The Workspace
A lot of people ask, can I fix my blotchy gel stain?
The answer is yes, you can definitely fix this problem. For that, you need to prepare the workspace first. So, find a well-ventilated space.
The temperature should be neither too hot nor too cold. The ideal conditions are about 70°F and humidity should be around 50-70%.
Because the room’s temperature will create a large impact on this gel stain fixing method. The improper temperature will affect the consistency of your solvents and stains. So, try to maintain that.
Step 2 of 3: Sanding The Wood
Your second step is sanding the wood. For that, gather all the needed equipment into the room. Put on your safety materials like a mask, a coat, and goggles. These will keep you safe from any harm.
Now, start the sanding process. You have to start from low grit like 100 to 120 of your choice. Then slowly shift to a higher grit of 220.
You can also use the mineral spirit. You have to take about 30% of the spirit to stain off.
Finally, if you’re trying to use lacquer thinner, sand it properly. When you’re using lacquer thinner it makes the surface become rough enough.
This rough surface is essential for the lacquer thinner. It will help the lacquer thinner to adhere easily. Then you can apply the lacquer thinner and it will fix the blotchy gel super fast.
Step 3 of 3: Wipe The Gel Stain Off
Now, it’s time to wipe the stain off. For that, grab a rag and soak it in any solvent of your choice. Start wiping the stain in a circular motion.
Put extra pressure while scrubbing. The more pressure you put, the faster your blotch goes away. Continue this process several times.
On the first trial, wipe throughout the whole surface so the stain softens. Then move to the second round right away. This time wipe as many times as you need until the stain gets off totally.
When the last wipe is done, let the stain dry. So, wait for about 30 minutes. Then you’ll find all the blotchy gel stains have been removed perfectly.
Note: Make sure to work as fast as possible between each wipe session. Otherwise, the stain will dry and you have to start again from the beginning.
Now, there’s a possibility that you might have a fiberglass door. In that case, your concern will be- how to fix blotchy gel stain on fiberglass door?
Well, you can’t exactly fix the blotchy stain on the fiberglass door. But the thing you can do is paint. For that, prime the door with an exterior oil-based primer stain blocker. Then topcoat it with exterior acrylic color.
You can apply gloss or semi-gloss finishing in terms of your choice. This technique is gonna hide all the blotchy gel stains.
Well, that’s basically it! Now you can easily clean the blotchy gelcoat from your wooden items.
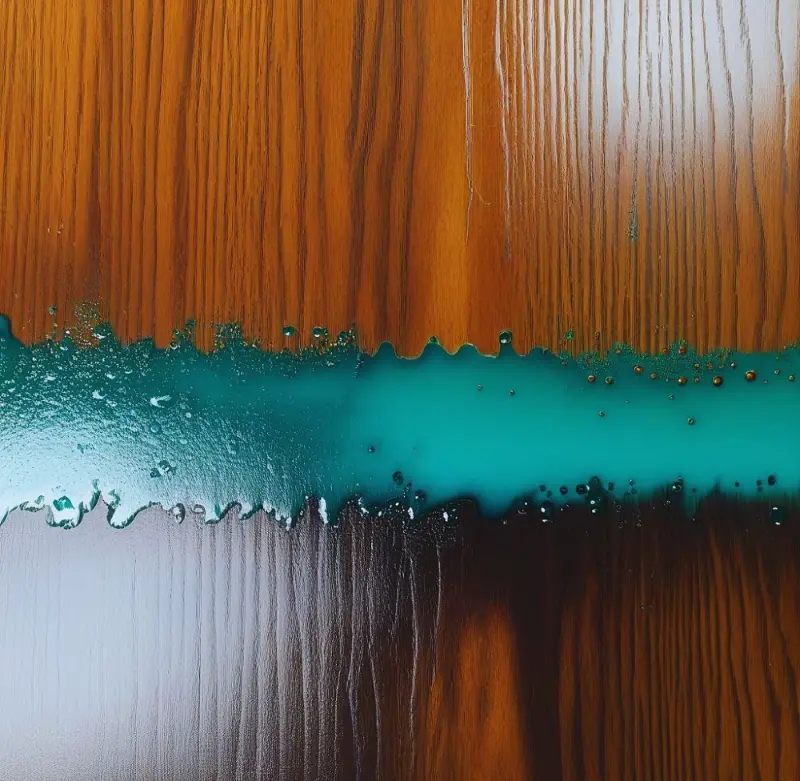
6 Methods On How To Fix Blotchy Wood Stain
To fix blotchy wood stain, follow these simple steps.
Preparation for Fixing Blotchy Gel Stain
Before you begin fixing blotchy gel stain, gather the necessary materials such as sandpaper, mineral spirits, rags, and gel stain.
It’s important to have everything you need on hand to ensure a smooth process.
Additionally, make sure you have proper ventilation in your workspace and protect the area to prevent any damage or mess.
Method 1: Light Sanding for Minor Blotchiness
Light sanding is an effective method for fixing minor blotchiness in gel stain. To begin, use fine-grit sandpaper to gently sand the affected areas.
This will help remove any excess stain and even out the color. It’s important to be gentle while sanding to avoid damaging the wood’s surface.
Start by lightly sanding in the direction of the wood grain, applying minimal pressure.
After sanding, wipe away any dust or debris with a clean cloth. This method helps to smooth out the blotchy areas and create a more uniform appearance.
Remember to always test the sanding process on a small, inconspicuous area before proceeding to the larger affected areas.
Method 2: Mineral Spirits for Moderate Blotchiness
Mineral spirits can be a great solution for fixing moderate blotchiness in gel stain. This method involves using mineral spirits to dissolve and redistribute the stain, resulting in a more even color.
To apply mineral spirits, dampen a clean cloth with the solvent and gently rub it over the blotchy areas.
This will help to break up the excess stain and allow it to be absorbed more evenly into the wood. After applying the mineral spirits, be sure to wipe away any excess with a separate clean cloth.
Allow the wood to dry completely before applying any additional coats of gel stain.
This method can help to significantly reduce the appearance of blotchiness and create a more uniform finish.
Method 3: Reapplication for Severe Blotchiness
Reapplying gel stain is an effective method for fixing severe blotchiness on wood surfaces. To achieve a uniform finish, follow these steps carefully. First, ensure that the surface is clean and free from any previous stain or finish. Use a clean cloth dampened with mineral spirits to wipe away any residue.
Next, apply a thin and even coat of gel stain to the blotched areas using a brush or cloth. Make sure to work in the direction of the wood grain for a smooth application. Allow the stain to penetrate the wood for the recommended time specified on the product label.
After the recommended time has passed, use a clean cloth to wipe away any excess stain. Consistent wiping is crucial to prevent uneven color distribution. Pay extra attention to the blotched areas, ensuring that the stain is evenly distributed and absorbed into the wood.
Allow the first coat of gel stain to dry completely before assessing the results. If necessary, repeat the process by applying additional coats of gel stain to achieve the desired color and coverage. Remember to follow the manufacturer’s instructions for drying time between coats.
By reapplying gel stain with even application and consistent wiping, you can effectively fix severe blotchiness and achieve a uniform finish on your wood surfaces.
Method 4: Wood Conditioner for Uneven Absorption
Wood conditioner is a crucial tool for addressing uneven absorption and preventing blotchiness when applying gel stain to wood surfaces.
The conditioner helps to regulate the absorption of the stain, ensuring a more uniform and consistent finish.
To apply wood conditioner, first, ensure that the wood surface is clean and free from any previous stain or finish.
Then, using a brush or cloth, apply a thin and even coat of wood conditioner to the entire surface. Allow the conditioner to penetrate the wood for the recommended time specified on the product label.
After the recommended time has passed, wipe away any excess conditioner with a clean cloth. Once the wood conditioner has dried completely, you can proceed with staining, knowing that the absorption will be more even and consistent.
Method 5: Gel Stain for Selective Darkening
Gel stain can be a great solution for selectively darkening lighter areas and blending them with darker sections, creating a more uniform appearance. This technique is particularly useful when dealing with blotchy gel stain on a fiberglass door or any other wood surface.
To apply gel stain for selective darkening, you have two options: using a rag or a brush. If you choose to use a rag, dip it into the gel stain and gently rub it onto the lighter areas that need darkening.
Make sure to blend the stain evenly with the surrounding darker sections for a seamless finish. If you prefer using a brush, apply the gel stain directly onto the lighter areas, focusing on specific spots that require darkening. Use smooth, even strokes to ensure an even application.
Remember to work in small sections and take your time to achieve the desired results. Allow the gel stain to dry completely before applying any additional coats or finishing products.
Method 6: Glaze for Overall Color Correction
Glaze is a versatile solution for overall color correction and can effectively even out blotchiness in gel stain. By using glaze, you can subtly alter the color of the entire piece, creating a more uniform appearance.
To apply glaze, use a brush and apply it evenly over the surface, making sure to cover all areas affected by blotchiness.
After applying the glaze, wipe off any excess with a clean cloth to achieve the desired level of color correction.
Allow the glaze to dry completely before applying any finishing products. With careful application, glaze can help you achieve a smooth and cohesive finish on your wood project.
Tips and Best Practices
To prevent blotchy gel stains in the future, there are a few additional tips you can follow.
First, make sure to thoroughly clean and sand the wood surface before applying the gel stain. This will help to remove any existing finishes or contaminants that could affect the absorption of the stain.
Additionally, consider using a wood conditioner before applying the gel stain. This will help to promote more even absorption and reduce the likelihood of blotchiness.
During the staining process, it’s important to apply the gel stain evenly and in thin coats. Avoid applying too much stain at once, as this can lead to uneven coloration. Also, be mindful of the drying time between coats, as rushing the process can result in a blotchy finish.
To maintain stained surfaces, regularly clean them with a mild soap and water solution. Avoid using harsh chemicals or abrasive cleaners, as these can damage the stain. Additionally, consider applying a protective topcoat to help preserve the color and finish of the stain over time.
Final Words
So, are you stress-free now that you know how to fix blotchy gel stain?
We hope you can remove the stain on your own now. Let us know how your overall experience was by leaving a comment down below.
We wish you all the luck!
How do you fix uneven blotches after staining?
After staining you can fix uneven blotches through stripping, sanding, or both. First, apply a wash coat of shellac. After that, you can apply a stain. But if you find the blotching is too severe, then you need to glaze your wooden furniture. Use glaze to lighten the contrast between deeper and lighter areas.
Can you restain over gel stain?
Yes, you can restrain as long as the gel is wet. You can easily remove the gel if it’s wet. But if the gel gets dry then you have to sand it off. Use a t-shirt and wipe the gel in a circular motion. It will transform the stain into grain then thoroughly the grain will wipe out.
How do you fix too much gel stain?
If you stained too much gel incidentally, don't worry you can fix this. But it will produce some stickiness. So, dampen a t-shirt with mineral spirits and wipe it down. It will lighten up the stain. Wipe until all the stickiness vanishes and then you will have an even finish.
How do you apply evenly gel stain?
You can successfully get an evenly gel stain as it gets absorbed really easily. Its absorbing power is more efficient than liquid stains. Start covering the surface with gel stain using a rag or a foam brush. Cover the whole surface at a time. Apply plenty of stains and wait for a couple of minutes to let the stain set. Then wipe out the extra stain.


