Refinishing a tabletop can breathe new life into a coveted piece of furniture, adding character and charm to any room. Key to a successful refinishing project is the initial preparation, and that’s where sanding comes in.
When done correctly, sanding removes old paint or varnish, smooths out scratches and damage, and prepares the wood for a new finish. To ensure the best outcome, it takes more than simply a piece of sandpaper and a little elbow grease.
It requires an understanding of different sandpaper grits, sanding techniques, and safety measures. This knowledge is paramount when you’re about to embark on a journey of transforming an old table top into a new masterpiece.
Begin by thoroughly cleaning the table top and sanding it with coarse-grit sandpaper to remove any imperfections or old finish. Progressively use finer-grit sandpaper, smoothing the surface until desired smoothness is achieved before applying any desired finish.
How to Sand a Table Top- A Comparison Table
| Step | Dry Sanding | Wet Sanding |
|---|---|---|
| Process | Sanding the table top using sandpaper without any liquid | Sanding the table top with water and sandpaper |
| Purpose | Removes imperfections, old finish, and uneven surfaces | Achieves a smoother finish and reduces dust |
| Suitable for | Most table tops with regular imperfections | Table tops with deep scratches, dents, or heavy wear |
| Sandpaper | Coarse grit followed by finer grits | Generally uses finer grits with wet/dry sandpaper |
| Benefits | Faster process, less messy, ideal for light refinishing | Reduces dust, prevents overheating, better for repair |
| Considerations | Produces more dust, requires protective gear | Needs water control, longer drying time |
| Finish | Apply desired finish after dry sanding | Apply finish after allowing the top to dry completely |
One of our articles –How To Flatten Warped Wood Table Top?
Understanding Sandpaper Grit
Understanding Sandpaper Grit
The term grit relates to the roughness level of sandpaper. The lower the grit number, the more abrasive and rough the sandpaper. On the flip side, a high grit number indicates a smoother, finer sandpaper.
The Role of Grit in Sanding
The grit number is paramount to the sanding process. The purpose is to gradually reduce the surface roughness until desired smoothness is achieved.
A common sequence might start with a very coarse, low-numbered grit, like 60 or 80. This rough grit efficiently removes major blemishes, previous finish, and levels uneven areas.
However, it leaves noticeable scratches behind that need to be smoothed out with higher grit sandpapers.
Navigating Different Grit Numbers
After initial sanding with coarse grits, you may transition to medium grit, like 120 or 150. This grit not only smoothens the rough scratches left by the lower grit but also prepares the surface for the finishing touches.
The final stages involve high-grit sandpapers in the 220 to 320 range, which nicely polish the surface and ensures smoothness.
For ultra-fine finishes, you might even consider extremely high grits in the 400 and above range.
Choosing the Right Grit for Table Tops
When tackling a table top, consider the current condition and the wood type. For severely damaged tops or hard types of wood like Maple or Hickory, starting with 60 or 80 grit sandpaper might be best.
This will remove deep scratches, stains, or previous finish. For softer woods like pine, or surfaces with minor blemishes, starting with a higher grit like 100 or 120 would be safer.
Progressing through the sandpaper grit numbers
should be a gradual process. Jumping from a very low grit to a very high one can leave deep scratches that the high grit isn’t designed to repair.
Move from coarse to medium to fine to ultra-fine steadily, ensuring that the surface is ready for the leap.
Precautions When Sanding with Different Grits
Remember to sand in the direction of the grain only. Sanding across or against the grain can cause damage that’s tough to repair.
Furthermore, better safe than sorry; if in doubt about which grit to start with, choose the finer one.
It might take longer but minimizes the risk of damage to your table top. Always remember to check your progress incrementally and adjust your sanding approach if needed.
In sum, understanding sandpaper grit and its function can greatly ensure a successful refinishing job.
Further, accurate use also avoids potential damage, which can cause unnecessary setbacks, costs, and frustrations. Learn to know what grit to use and when to use it.

Proper Sanding Techniques
Understanding the Basics of Sanding
Before starting to sand, it’s necessary to know the type of wood you are working with. Softer woods like pine need light pressure and fine-grit sandpaper while harder woods can withstand heavy pressure and coarse-grit paper.
Always clean the table top to remove any dirt or debris which can scratch and damage the surface during the sanding process.
Choosing Sandpaper Grit
When selecting your sandpaper, start with a lower grit – around 80 or 100 – to eliminate any old finishes and scratches. Once you’ve stripped the table top, you can progressively move to higher grit paper, like 150 and then 220, each time to make the surface smoother.
Always ensure the entire surface area has been sanded evenly before moving to the next grit size.
Proper Sanding Direction
When it comes to sanding direction, always sand with the grain of the wood, not against it. Going against the grain can create scratches that are challenging to remove.
You should be able to identify the grain direction by simply looking at the wood and spotting the line patterns.
Applying the Correct Pressure
A common misconception is that applying more pressure will speed up the sanding process. However, applying too much pressure can damage the wood or lead to an uneven surface. Instead, let the sandpaper do the work.
Hold the sandpaper or sander with a firm grip and apply gentle, even pressure as you make your passes.
Sanding Contours and Corners
Sanding contours and corners requires a different approach. Due to their shape and accessibility, these areas can be challenging to deal with.
For rounded shapes, choose a softer backing pad on your sander or manually sand using hands with the sandpaper wrapped around a soft cloth.
For corners, use a sanding sponge or fold sandpaper and work it into the nooks and crannies. Sand these areas by hand as machines can be too aggressive and damage the material.
Final Steps of the Sanding Process
After sanding, always remove dust from the surface before moving on to the next grit size. You can wipe it down with a damp cloth, brush it with a soft sponge, or use a vacuum cleaner. This not only cleans the working area but also helps you check if there are any missed patches or scratches that need re-sanding.
Remember, sanding is an essential part in the process of revitalizing any piece of furniture. It lays the foundation for staining, painting, or varnishing, Your patience and attention to detail in sanding will directly reflect in the final outcome.
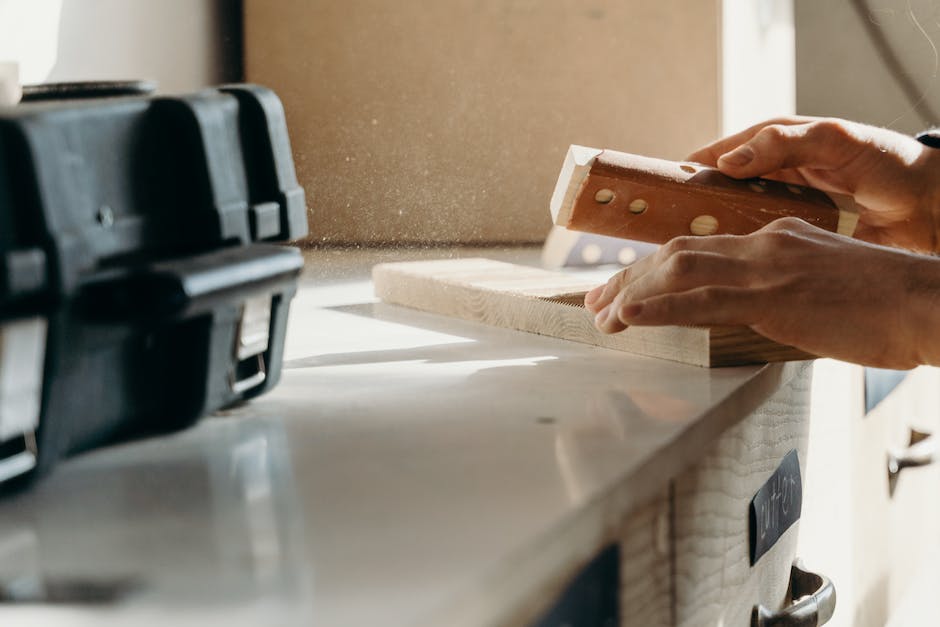
Safety Measures and Clean-Up Tips
Safety Measures while Sanding a Table Top
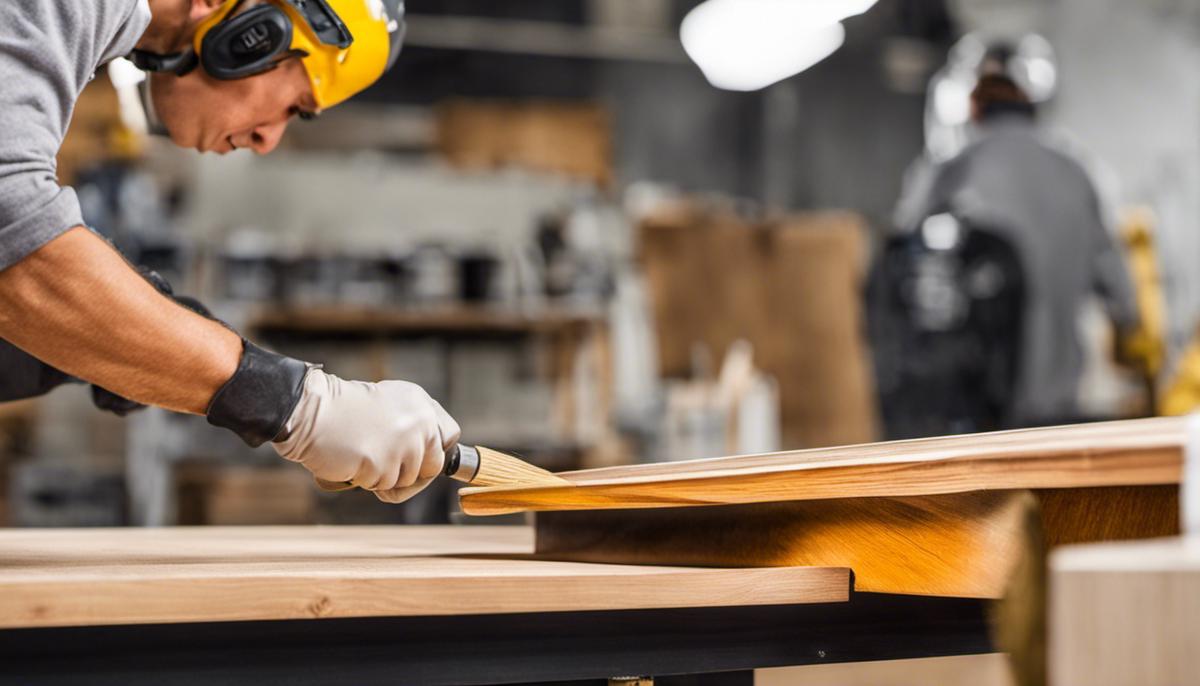
One of the primary safety measures is wearing the right personal protective equipment (PPE). Wearing a mask that covers your nose and mouth is essential to avoid inhaling sawdust which can be dangerous to health.
Safety glasses should be worn to keep any stray dust or debris away from the eyes. Besides, a set of gloves can help in preventing any accidental scrape or splinters while sanding the table top.
Also crucial, is working in a well-ventilated area. This allows any fine dust particles to be dispersed quickly and keeps the air fresh.
Especially during the finishing phase where varnishes or sealants with potentially harmful fumes may be used.
It’s also a good idea to work with a dust extraction tool or a vacuum to help minimize airborne particles and improve your safety.
Clean-Up Tips After Sanding
Sanding can produce a lot of fine particulate matter, called sawdust, which needs to be properly cleaned to ensure finishing products adhere well to the surface of the table. Regularly cleaning your work area as you sand can help to keep dust levels manageable. Remember to use a dustpan and brush, or better yet, a vacuum to reduce dust spread.
Always remember to properly dispose of sawdust. Sawdust can be dangerous if not disposed correctly, as it’s a potential fire hazard and harmful if inhaled. If possible, consider recycling or composting your sawdust. Alternatively, it can be bagged and placed with your regular trash, provided your local waste management guidelines allow.
Lastly, always wash your hands after finishing your work, even if you’ve worn gloves. This ensures any lingering dust or chemicals are removed, maintaining your personal hygiene and health post the sanding process.

Once you’ve successfully sanded your table top, you’ll have a fresh platform ready to absorb a new stain or paint.
You will have navigated through the different varieties of sandpaper grit, applying the right pressure and using effective sanding techniques.
Through your efforts, both the table top’s gradients and contours shall have even surfaces, offering an aesthetically pleasing aspect.
Safety measures followed duly will ensure your wellbeing as you accomplish the task, making it as efficient and smooth-running as possible.
Achieving such a task not only gives a second life to your beloved furniture but also equips you with enduring skills for potential future projects. Therefore, the knowledge and efforts invested are certainly rewarding.
Related Questions
What do I need to sand a table?
Sandpaper and sanding block or power sander.
Which tool is best for sanding a table top?
An orbital sander is ideal for sanding a table top.
How can I sand a table top evenly?
Apply even pressure and follow the grain while sanding.
What’s the method to smooth a table top?
Sand the surface with progressively finer grits of sandpaper.
Is it possible to sand a table by hand?
Yes, you can sand a table by hand.
Which tool is used for sanding wood?
A sanding machine or an orbital sander is commonly used for sanding wood.

